Tutorial 9: Temperature Tower
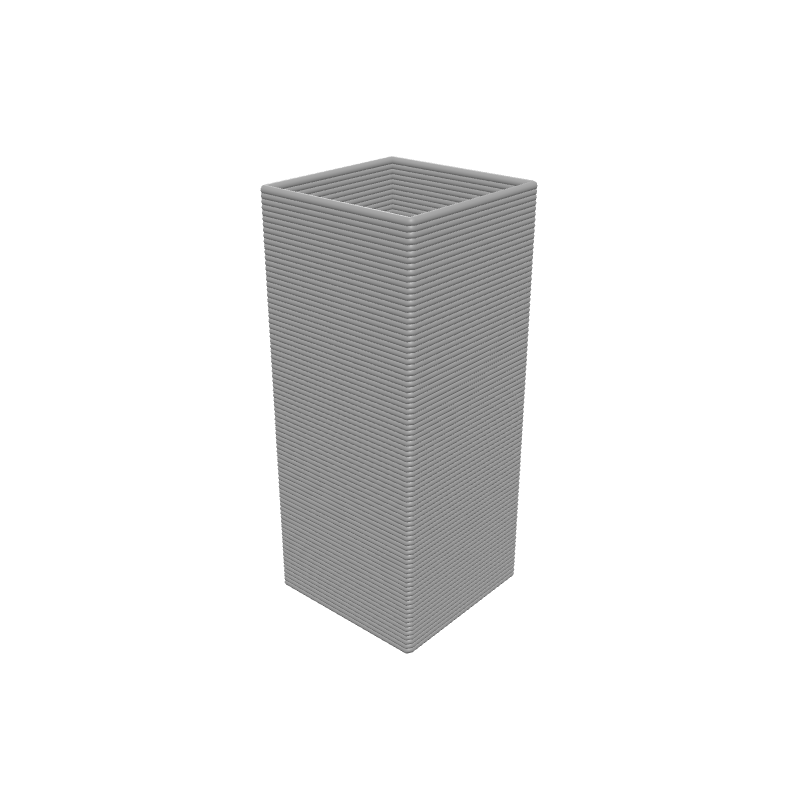
One of the most useful things about SynthBlocks is that it can control the printer, not just the geometry. In this tutorial, we'll create a "temperature tower" — a calibration print that changes the nozzle temperature as it gets higher, helping you find the best temperature for your filament.
What you'll learn
- How to use the Set Temperature block to control the hotend on the fly
- How to change printer settings dynamically based on height using Map Range
- How to create calibration tests with parameterised variables
Prerequisites
- Completion of Tutorial 4 (For Z loop) is recommended.
Step 1: Define your variables
We'll parameterise every value so you can tweak the tower from the 3D viewport without editing blocks.
Set Variable
Interactive preview is available in the interactive reader.
Step 1
Create four variables
Add four Set Variable blocks to the top of your Path Group:
- startTemp =
220
Enable Show in viewport on each one.
Step 2: Centre on the build plate
Translate
Interactive preview is available in the interactive reader.
Step 2
Add a Translate block
Drag a Translate block below the Set Variable blocks.
Set X to Bed Size X / 2 and Y to Bed Size Y / 2.
All remaining blocks go inside the Translate body.
Step 3: Add the For Z loop
The For Z block iterates from a start height to an end height and gives you access to z, normZ, and layerIndex inside the loop. Unlike Stack Layers, it does not move the nozzle automatically — you control Z yourself.
For Z
Interactive preview is available in the interactive reader.
Step 3
Add For Z
From the Structure category, drag a For Z block into the Translate body.
Set Start to Layer Height (the printer-setting block), End to the variable towerHeight, and Step to the Layer Height printer-setting block.
Step 4: Set Temperature with Map Range
Inside the loop, we'll set the temperature before drawing the geometry. The temperature smoothly transitions from startTemp at the bottom to endTemp at the top using normZ.
Set Temperature
Interactive preview is available in the interactive reader.
Step 4
Add Set Temperature
From the Process category, drag a Set Temperature block into the For Z body.
Uncheck Wait — we want the temperature to change while printing, not pause and wait.
Map Range
Interactive preview is available in the interactive reader.
Step 5
Map normZ to Temperature
- Drag a Map Range block into the Value input of the Set Temperature block.
Step 5: Draw the tower cross-section
Now we draw a simple rectangle for each layer and then move the nozzle up.
Rectangle
Interactive preview is available in the interactive reader.
Step 6
Add a Rectangle
From Geometry, drag a Rectangle block after the Set Temperature block (still inside For Z).
Set Width to the variable towerSize and Height to the variable towerSize.
Step 7
Add Travel (Relative) Z
Drag a Travel (Relative) Z block after the Rectangle (still inside For Z).
Set Z to the Layer Height printer-setting block.
Complete block program
Full program — Tutorial 9
Interactive preview is available in the interactive reader.
Final block structure
| # | Block | Where | Values |
|---|---|---|---|
| 1 | Set Variable startTemp | Path Group | 220 · Show in viewport |
| 2 | Set Variable endTemp | Path Group | 180 · Show in viewport |
| 3 | Set Variable towerHeight | Path Group | 50 · Show in viewport |
| 4 | Set Variable towerSize | Path Group | 20 · Show in viewport |
| 5 | Translate | Path Group | X = Bed Size X / 2, Y = Bed Size Y / 2 |
| 6 | ↳ For Z | Inside Translate | Start = Layer Height, End = towerHeight, Step = Layer Height |
| 7 | ↳ Set Temperature | Inside For Z | Wait = false |
| 8 | ↳ Map Range | Temp Value | In 0–1, Out startTemp–endTemp |
| 9 | ↳ Variable | Map Input | normZ |
| 10 | ↳ Rectangle | Inside For Z | W = towerSize, H = towerSize |
| 11 | ↳ Travel (Relative) Z | Inside For Z | Z = Layer Height |
Outcome
You have created a smart G-code program that actively controls the printer's hardware. As the print rises, the temperature will smoothly ramp from 220°C to 180°C. Inspect the finished print to see which height (temperature zone) looks the best for your filament!
Load this tutorial
Interactive preview is available in the interactive reader.
Interactive preview is available in the interactive reader.
What's Next
Tutorial 10: Speed Test — Same concept, but testing print speed limits instead of temperature!