Tutorial 4: Simple Pyramid
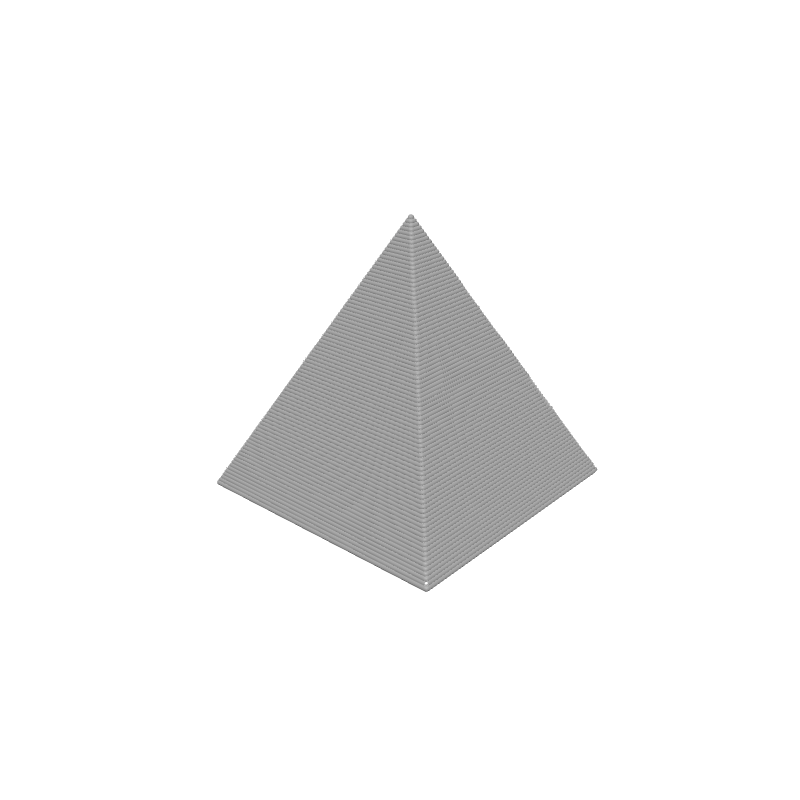
Now that you've made a cube, let's create a shape that changes size as it goes up: a pyramid. You'll use the For Z loop for fine-grained control and Map Range to shrink the rectangle from a wide base to a point at the top.
What you'll learn
- How to use the For Z loop with loop variables (
normZ) - How to make geometry shrink as height increases with Map Range
- How to manually advance the Z axis with Travel (Relative) Z
Prerequisites
- Completion of Tutorial 3 is recommended.
Step 1: Define your variables
We'll parameterise the base size and total height so they can be adjusted from the 3D viewport.
Set Variable
Interactive preview is available in the interactive reader.
Step 1
Create two variables
Add two Set Variable blocks to the top of your Path Group:
- baseSize =
50
Enable Show in viewport on each one.
Step 2: Centre on the build plate
Translate
Interactive preview is available in the interactive reader.
Step 2
Add a Translate block
Drag a Translate block below the Set Variable blocks.
Set X to Bed Size X / 2 and Y to Bed Size Y / 2.
All remaining blocks go inside the Translate body.
Step 3: Add the For Z loop
The For Z block iterates from a start height to an end height and gives you access to z, normZ, and layerIndex inside the loop. Unlike Stack Layers, it does not move the nozzle automatically — you control Z yourself.
For Z
Interactive preview is available in the interactive reader.
Step 3
Add For Z
From the Structure category, drag a For Z block into the Translate body.
Set Start to Layer Height (the printer-setting block), End to the variable pyramidHeight, and Step to the Layer Height printer-setting block.
Step 4: Draw a shrinking Rectangle
Inside each iteration we draw a square whose size decreases from baseSize at the bottom to 0 at the top.
Map Range
Interactive preview is available in the interactive reader.
Step 4
Add a Rectangle with Map Range
- Drag a Rectangle block into the For Z body.
Step 5: Move up one layer
Since For Z doesn't advance the nozzle automatically, we must add a relative Z move after each rectangle.
Step 5
Add Travel (Relative) Z
Drag a Travel (Relative) Z block after the Rectangle (still inside the For Z body).
Set Z to the Layer Height printer-setting block.
Complete block program
Full program — Tutorial 4
Interactive preview is available in the interactive reader.
Final block structure
| # | Block | Where | Values |
|---|---|---|---|
| 1 | Set Variable baseSize | Path Group | 50 · Show in viewport |
| 2 | Set Variable pyramidHeight | Path Group | 50 · Show in viewport |
| 3 | Translate | Path Group | X = Bed Size X / 2, Y = Bed Size Y / 2 |
| 4 | ↳ For Z | Inside Translate | Start = Layer Height, End = pyramidHeight, Step = Layer Height |
| 5 | ↳ Rectangle | Inside For Z | |
| 6 | ↳ Map Range | Width | In 0–1, Out baseSize–0 |
| 7 | ↳ Map Range | Height | In 0–1, Out baseSize–0 |
| 8 | ↳ Variable | Map Inputs | normZ |
| 9 | ↳ Travel (Relative) Z | Inside For Z | Z = Layer Height |
Outcome
You have created a fully parametric pyramid! It starts as a 50×50 mm square at the bottom and linearly shrinks to a point at the configured pyramid height. Drag the sliders in the viewport to try different proportions instantly.
Load this tutorial
Interactive preview is available in the interactive reader.
Interactive preview is available in the interactive reader.
What's Next
Tutorial 5: Twisted Prism — Add a twist! Learn how to use the Rotate block with height-driven variables.