Tutorial 3: Basic Cube
In this tutorial you'll build a simple cube from discrete layers. While previous tutorials used "vase mode" spirals, most 3D prints are built layer-by-layer. The Stack Layers block automates this process. You'll also learn to parameterise the cube's size and height with Set Variable blocks.
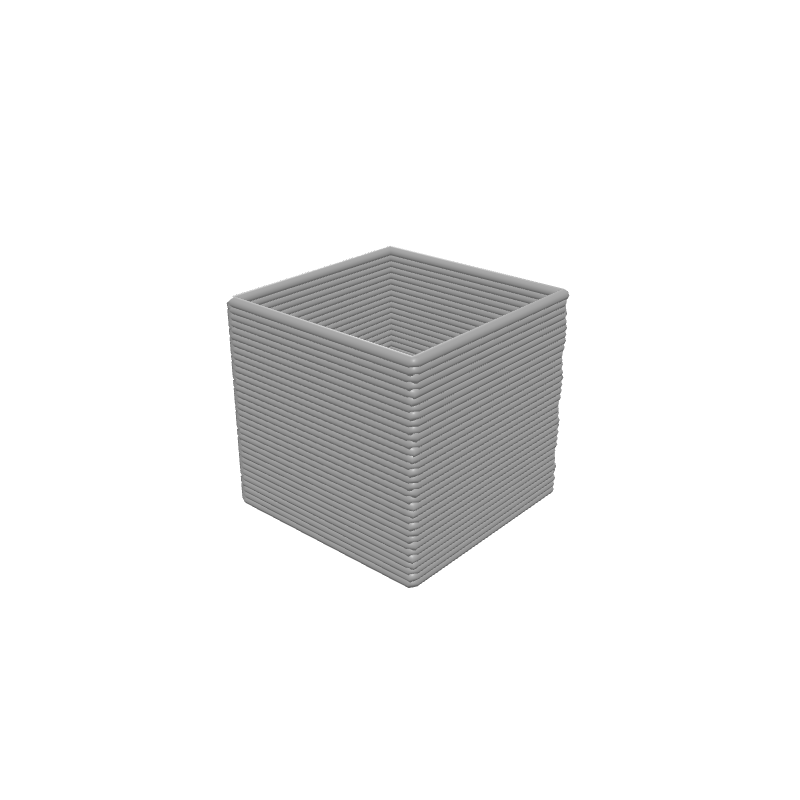
What you'll learn
- How to create layer-by-layer objects with Stack Layers
- How to draw a Rectangle
- How to use Set Variable with viewport sliders for quick tweaking
- The difference between Spiral Up and Stack Layers
Prerequisites
- No prior tutorials required, but completion of Tutorial 2 is helpful.
Step 1: Define your variables
We'll expose the cube dimensions as viewport sliders so you can resize the cube interactively.
Set Variable
Interactive preview is available in the interactive reader.
Step 1
Create two variables
Add two Set Variable blocks to the top of your Path Group:
- cubeSize =
20
Enable Show in viewport on each one.
Step 2: Centre on the build plate
Translate
Interactive preview is available in the interactive reader.
Step 2
Add a Translate block
Drag a Translate block below the Set Variable blocks.
Set X to Bed Size X / 2 and Y to Bed Size Y / 2.
All remaining blocks go inside the Translate body.
Step 3: Add Stack Layers
The Stack Layers block repeats everything inside its body at increasing Z heights — draw the shape, step up, repeat.
Stack Layers
Interactive preview is available in the interactive reader.
Step 3
Add Stack Layers
From the Z Strategy category, drag a Stack Layers block into the Translate body.
Set Start Z to Layer Height (the printer-setting block), End Z to the variable cubeHeight, and Layer Height to the Layer Height printer-setting block.
Using the Layer Height printer-setting block ties the layer step to your configured slicer settings — no magic numbers.
Step 4: Draw the Rectangle
A cube is simply a square repeated at every layer.
Rectangle
Interactive preview is available in the interactive reader.
Step 4
Add a Rectangle
From Geometry, drag a Rectangle block into the Stack Layers body.
Set Width to the variable cubeSize and Height to the variable cubeSize.
Complete block program
Full program — Tutorial 3
Interactive preview is available in the interactive reader.
Final block structure
| # | Block | Where | Values |
|---|---|---|---|
| 1 | Set Variable cubeSize | Path Group | 20 · Show in viewport |
| 2 | Set Variable cubeHeight | Path Group | 20 · Show in viewport |
| 3 | Translate | Path Group | X = Bed Size X / 2, Y = Bed Size Y / 2 |
| 4 | ↳ Stack Layers | Inside Translate | Start Z = Layer Height, End Z = cubeHeight, LH = Layer Height |
| 5 | ↳ Rectangle | Inside Stack | W = cubeSize, H = cubeSize |
Outcome
You have created a fully parametric calibration cube! Drag the cubeSize slider to make it wider or narrower, and the cubeHeight slider to make it taller — all in real time.
Load this tutorial
Interactive preview is available in the interactive reader.
Interactive preview is available in the interactive reader.
What's Next
Tutorial 4: Simple Pyramid — Modify the loop to change the shape size as it grows, creating a tapered pyramid.